

Lighting & Studio
You Might Also Like

Lighting & Photo Tips

This is the story of a photo from an ugly location. Well not really ugly... let's just say it has "character". Because when the light is just right, a plain looking spot can turn into something special.
This is the employee entrance to Dan’s Camera City in Allentown. It’s really not much to look at. “Utilitarian” would be a good word to describe it. But one night on the way out the door, I noticed the light and the rain on the window looked interesting.
So I poked around a little bit to see if there was something usable here. Yep, there’s some potential! This looks like I could use it for a background:
Note that I’ve set my white balance to Tungsten here to keep the sky a nice deep blue.
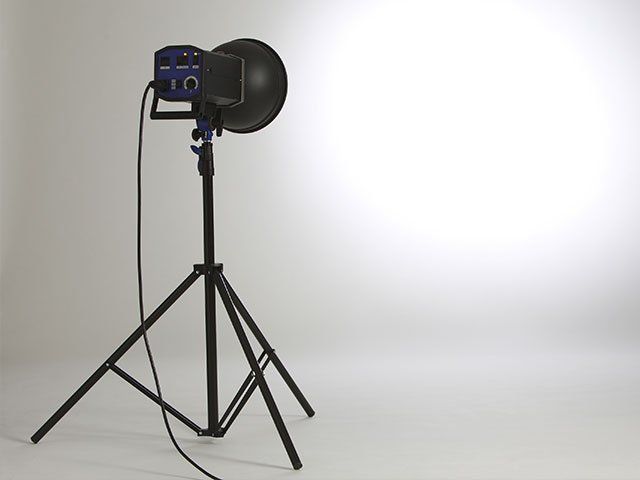
Now the light in here is terrible, there’s just one small, gross-looking lightbulb overhead. And there’s barely enough room to turn around, let alone set up a light stand and umbrella. I needed something small. So I grabbed a Promaster Light Wand that we have on display.
This thing is sort of a softbox-on-a-stick. It’s a bank of LEDs with a handle on the end. The diffuser has a white side and an amber side. I switched it around to the amber side, since I’m using Tungsten white balance here. That keeps everything consistent.
So I’ve got my background and I’ve got my light, now I just need a model! Lucky for me it was the end of the day, and everybody was headed out that back door to go home. I grabbed Ken here and made this quick portrait.
Not too bad, huh? The whole thing took five minutes to set up and shoot, and that’s including the time to convince somebody to pose for me.
Big thanks to Ken for playing along. Ken works in our custom frame shop, say “hi” and tell him you saw his picture on the blog the next time you stop by Dan’s!
Want to learn more?
Take a look at our Lighting & Flash classes with Dan's Photo University »

We’re always telling people you don’t need a lot of special equipment to start working with studio lighting. But the proof is in the pudding right? So let’s take a look at how it’s done. These three photos were all taken with the same light, with the same equipment. All we have to do is move that light around, and we wind up with very different looks!